It’s easier than you think — A basic guide to growing your own turmeric at home
11/29/2018 / By Ellaine Castillo
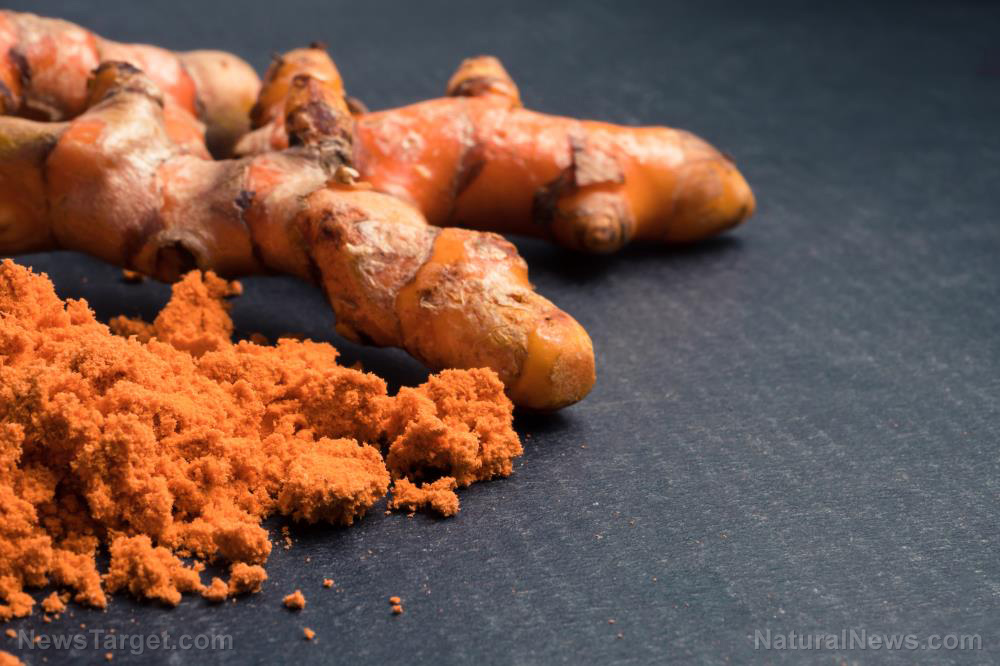
Turmeric (Curcuma longa) is an all-around wonder spice that can be used not just for the flavor it adds to food but also for its many health benefits. Fresh turmeric is ideal for culinary and medicinal purposes but it’s not always easy to find truly fresh turmeric roots. Instead of going through a lot of trouble whenever turmeric is needed, why not grow it at home?
Growing turmeric is easy even for beginners. Turmeric is a tropical plant that can grow up to three feet tall, so the first step to growing it is knowing where and when to plant it. In most regions of the U.S., turmeric grows best when planted indoors in late winter, but in others, it can be planted outdoors all throughout the year. Give the plant at least 10 months before the first frost as turmeric needs seven to 10 months before it can be harvested. Since turmeric isn’t a small plant, it is also important to grow it in a planter or pot with sufficient space. Generally, 14 to 18 inches would suffice.
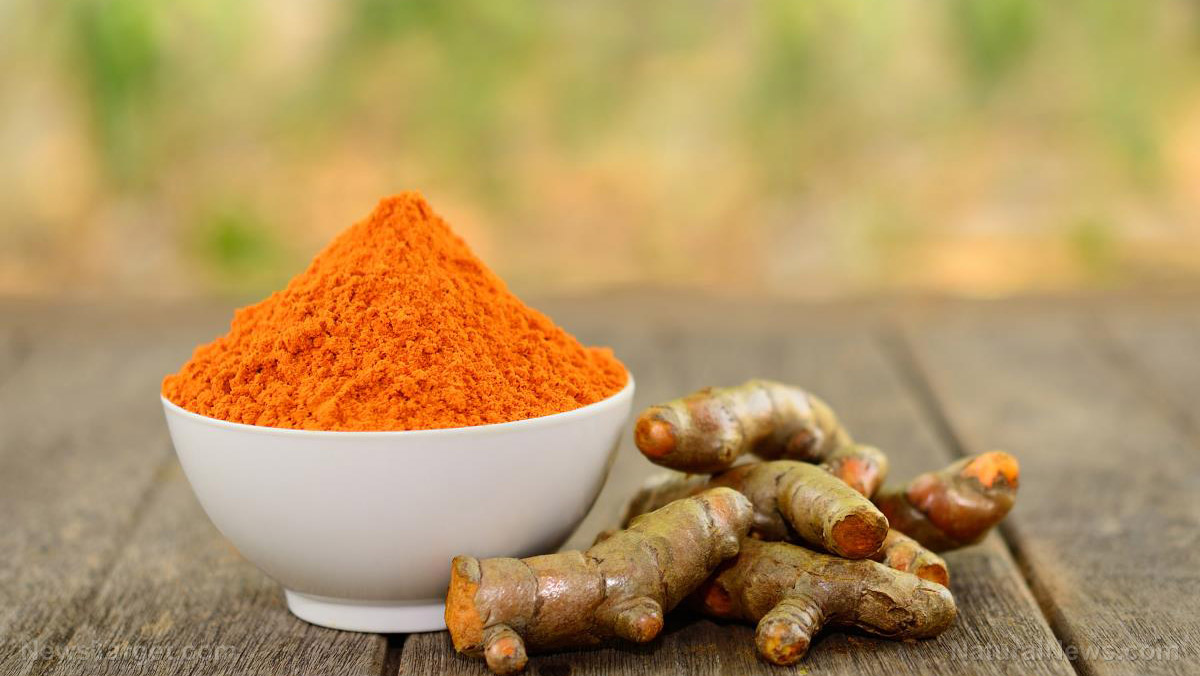
Once the logistics have been finalized, it is now time to buy the rhizomes that will be planted. Turmeric, like ginger, bamboo, and asparagus, is grown from rhizomes, which are stems that have a root-like appearance. When purchasing rhizomes, it is important to choose ones that are bumpy and plump. This is important because the bumps are actually buds that can extend to form new rhizomes, making them more cost-effective.
Before planting the rhizomes in their designated planters, it is best to sprout them first in smaller containers. This can be done by cutting up the rhizomes first, with each section having two or three buds. Place these flat on the soil, filling half of the container, and then cover them with more soil. Give them enough water and then place them in clear plastic bags for storage in temperature ranging from 86 to 95 degrees. If the temperature used is lower than this range, the sprouting process will be very slow and the rhizomes might just rot. But don’t worry because heating pads or desk lamps can also provide additional heat if house conditions prevent high temperatures.
Sprouting may take a few days so make sure to regularly check them. Once a few leaves have grown, transfer the sprouts to a place with sunlight. It doesn’t have to be as hot as before at this point; temperatures between 77 to 86 degrees will suffice. There will come a point when the sprouts will become too big for the plastic, so take it off to provide the plant with more room for growth. The plant will then need to be watered as the plastic is no longer there to keep moisture anymore. Make sure that the soil has just enough water so it’s not dry but not soggy either.
When the sprouts reach a height of 6 to 8 inches, it is now time to transfer them to their big container. At this point, the plant will also require a temperature of just 68 degrees. Those who want to move their plants outside do so as long as there is no more chance of frost. Since the plants have been used to house conditions, it is important to provide partial shade to prevent potential sunburn. Watering should still be done regularly at this point.
Don’t worry when the leaves and stem of the plant start turning brown after seven to 10 months. This is a sign that it’s finally ready for harvest. Remove the plant from its containers by tipping the planter then cut off the stem from the rhizomes. After washing off all the soil on the turmeric’s surface, it is now ready for consumption. However, if it isn’t for immediate consumption then keeping it in the refrigerator can keep it fresh for up to six months.
There’s still a lot of time before late winter to prepare for planting turmeric so why not start then? And by next year, all the benefits of fresh turmeric will be within reach. (Related: How does turmeric compare to OTC drugs? Research shows it’s superior in every way.)
Learn more about planting your own turmeric by visiting HomeGardeningNews.com today.
Sources include:
Tagged Under:


